
Before and After - Discover How I Edit My Photos
I'm going to be very honest with you - I hate editing.
As much as I adore my job, I do think that there are parts to everyones job (no matter how amazing it may be) that you won't enjoy. Some photographer prefer the editing part, but to me, it's honestly the part that I dislike the most. Now that doesn't mean I don't do any, but it has shaped a lot of the way that I shoot.
Due to my dislike of editing, I like to be very careful of how things are looking on the shoot, in camera, before I get home. Because the reality is that if you get it right at the time, less time needs to be spent editing afterwards!
I've had people ask me many times if they could watch my editing process, and I considered doing a "start to finish" screen capture of a shoot, and I could still do that if you would like me to, but if I'm totally honest, my editing process is so simple that there would probably be very little for you to see!
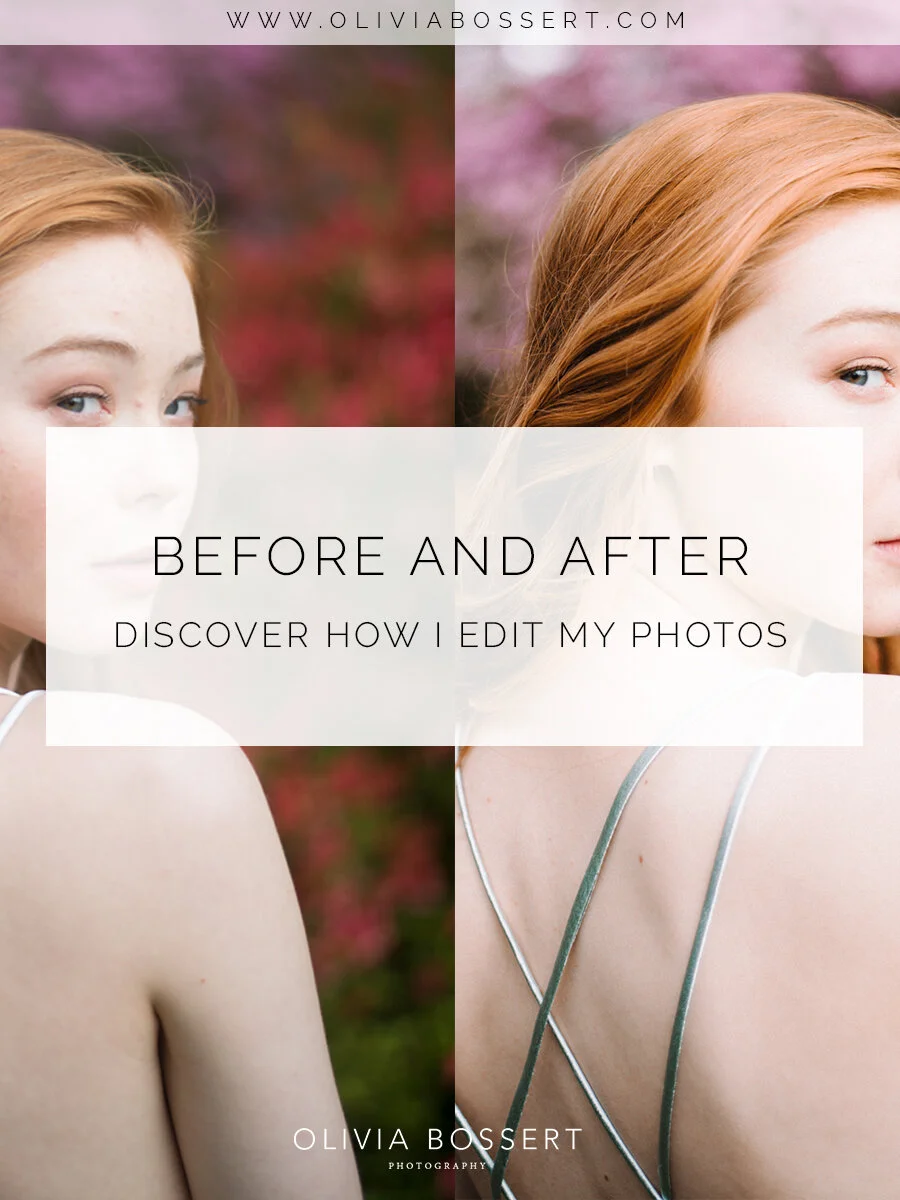
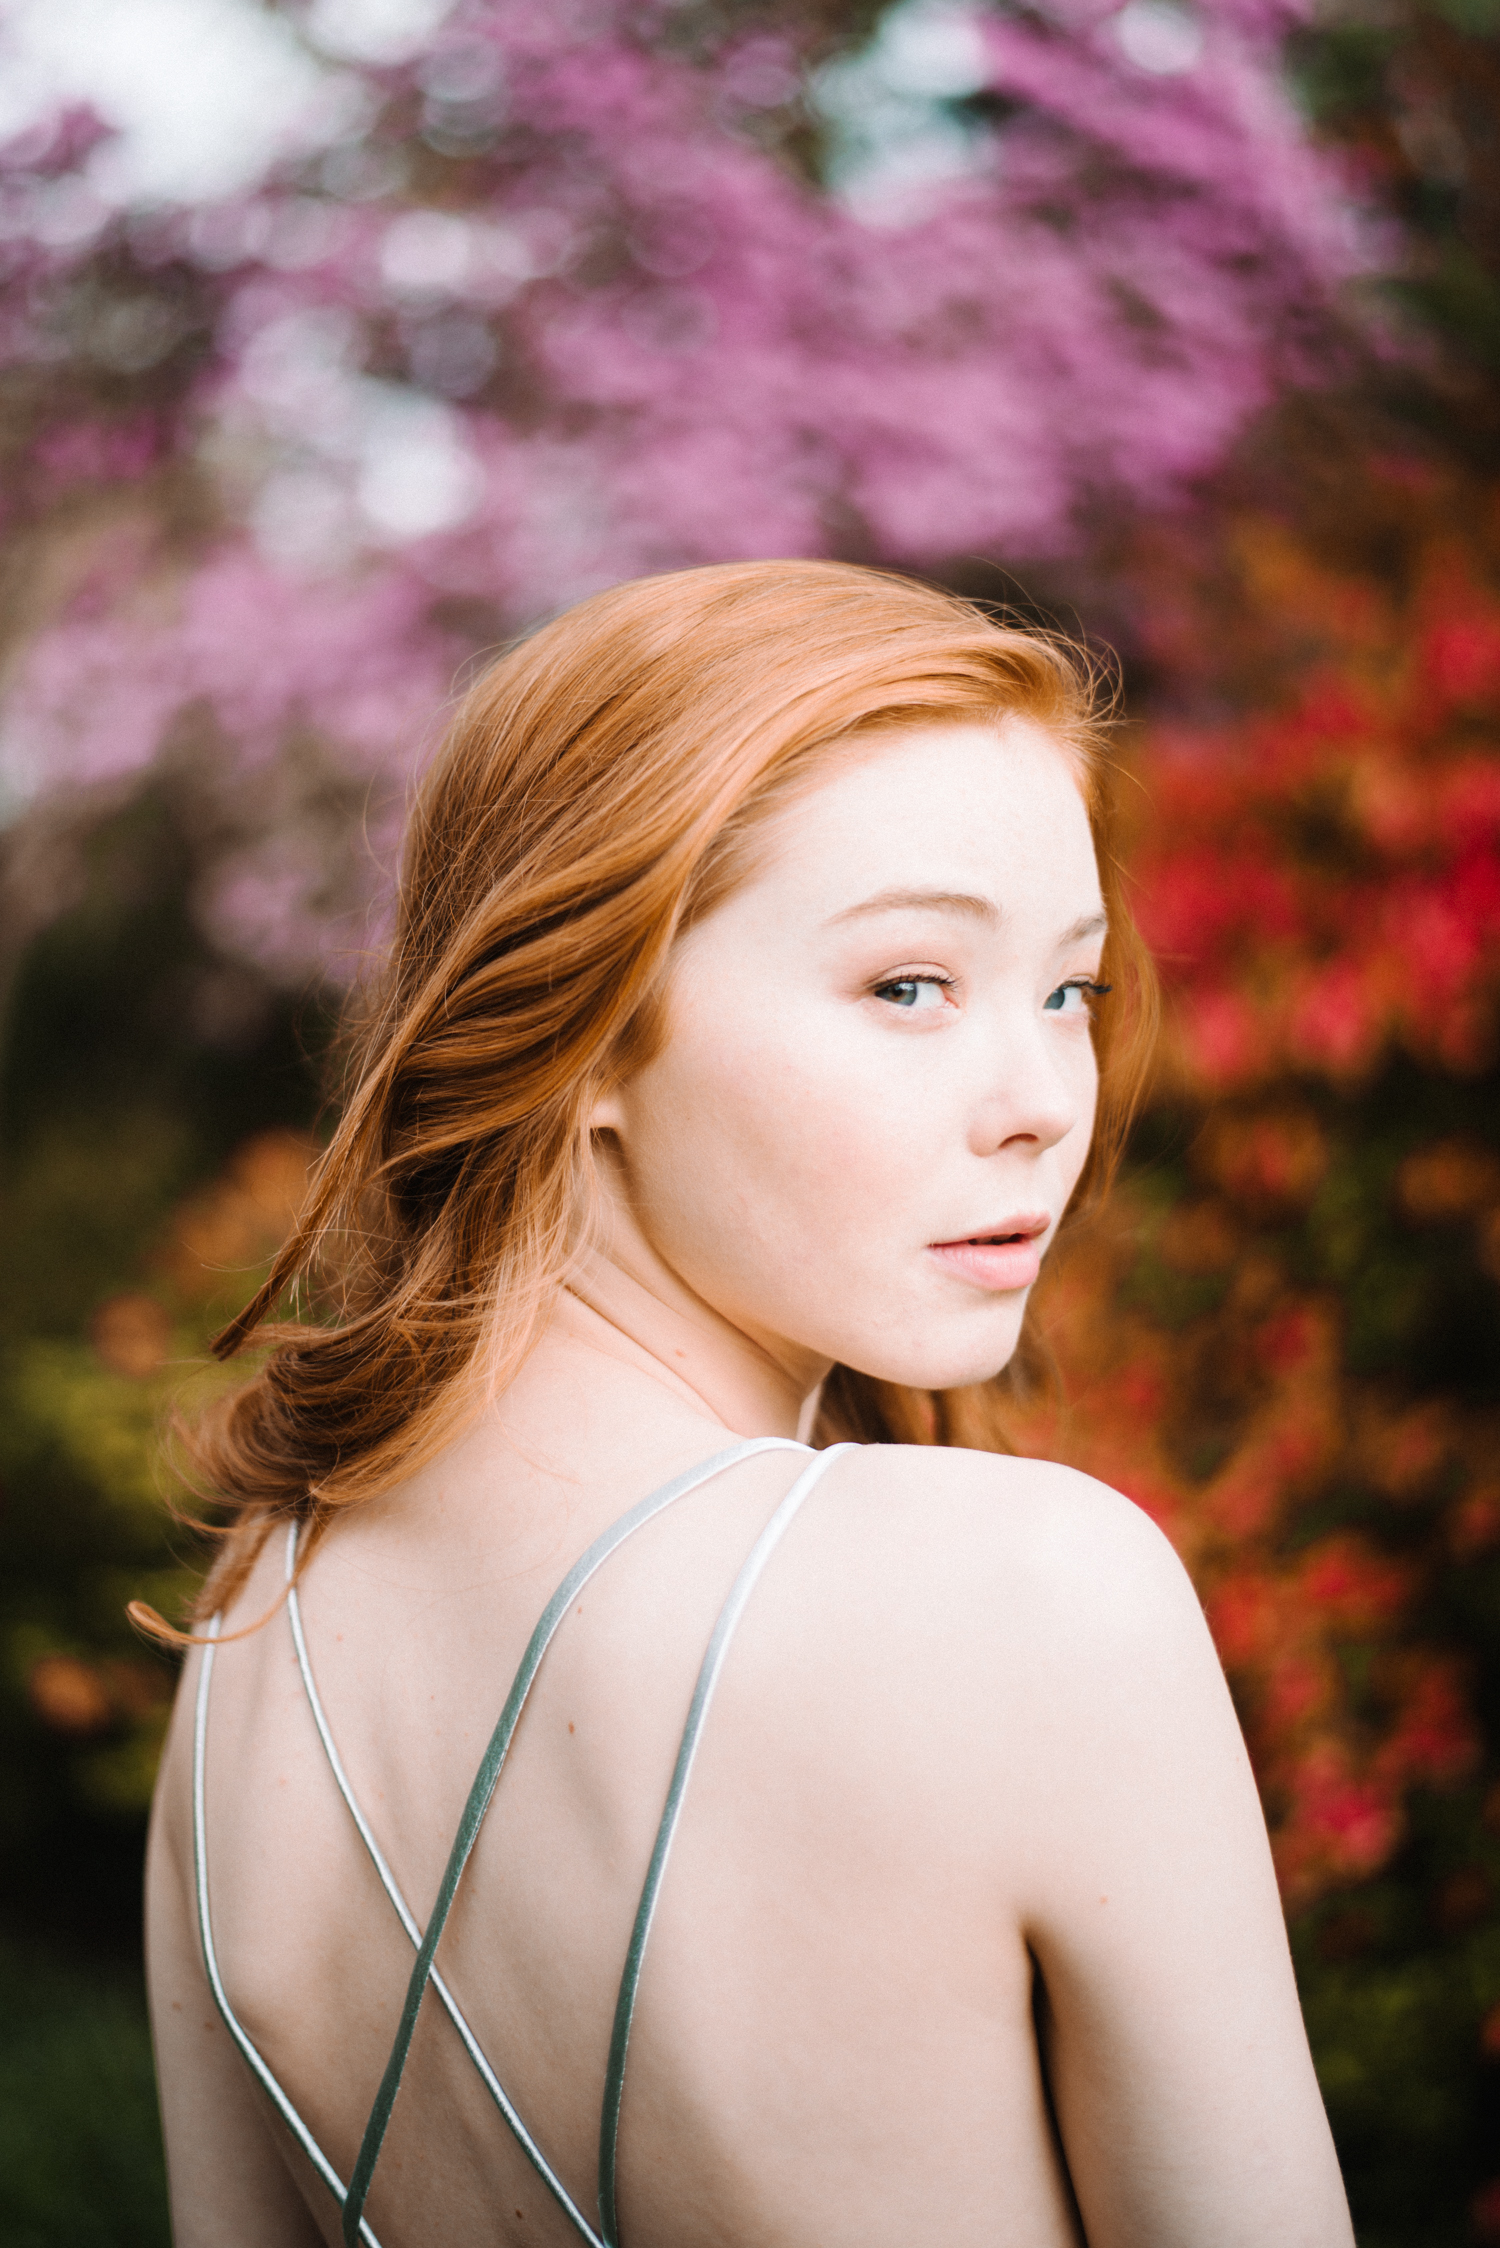
But because of the curiosity that I know people have, today I'm sharing with you a few "before and afters" of my images!
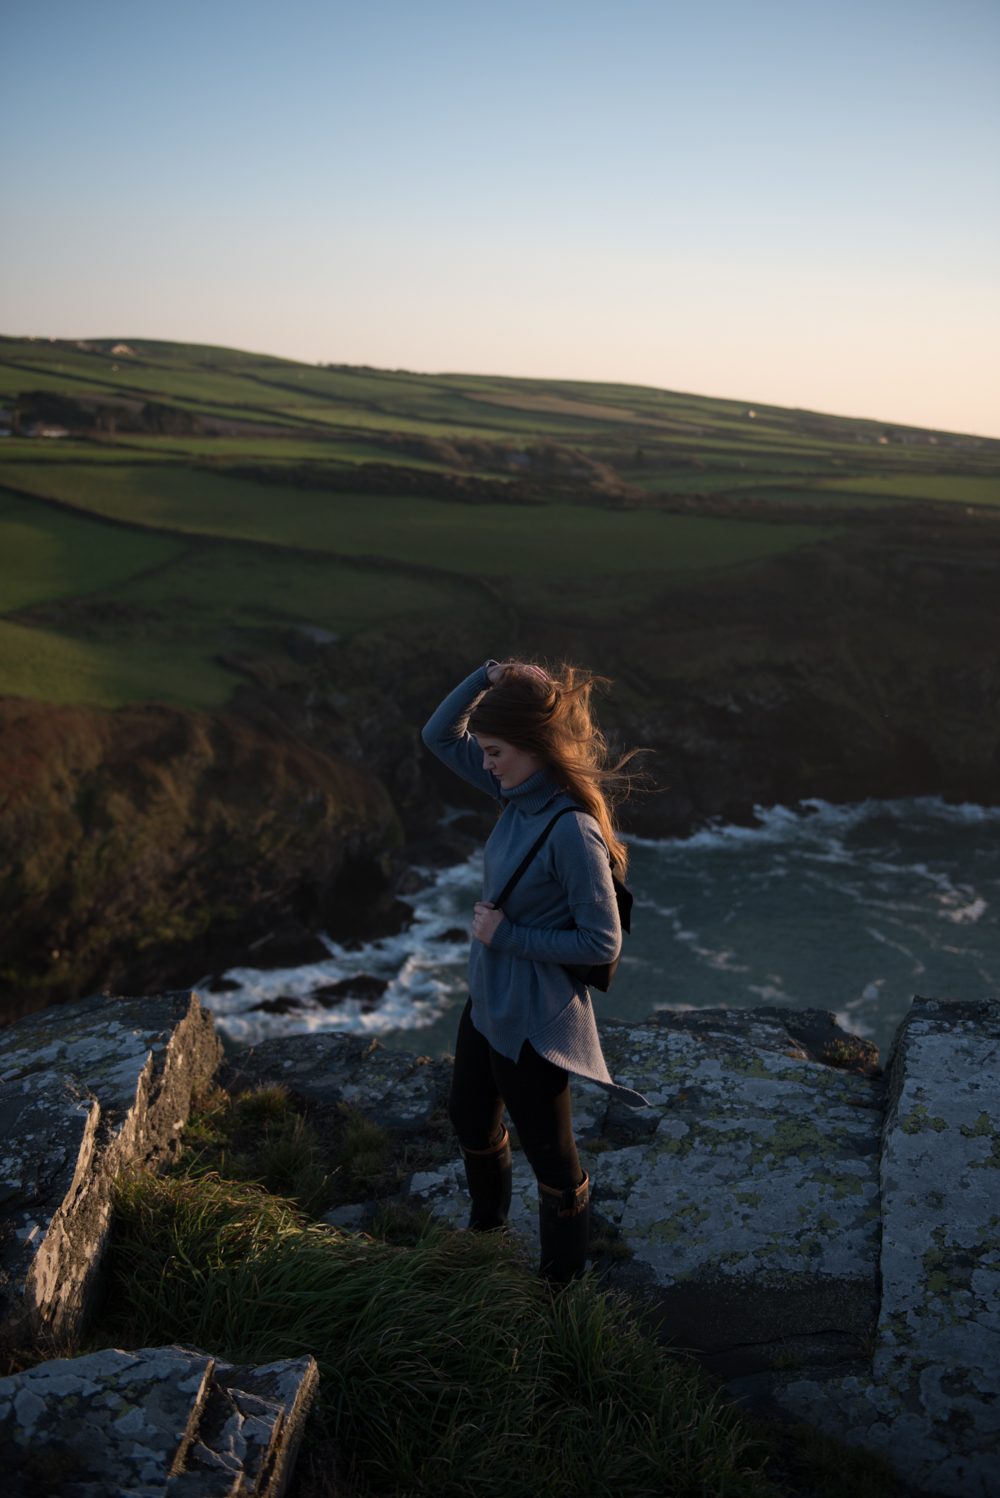
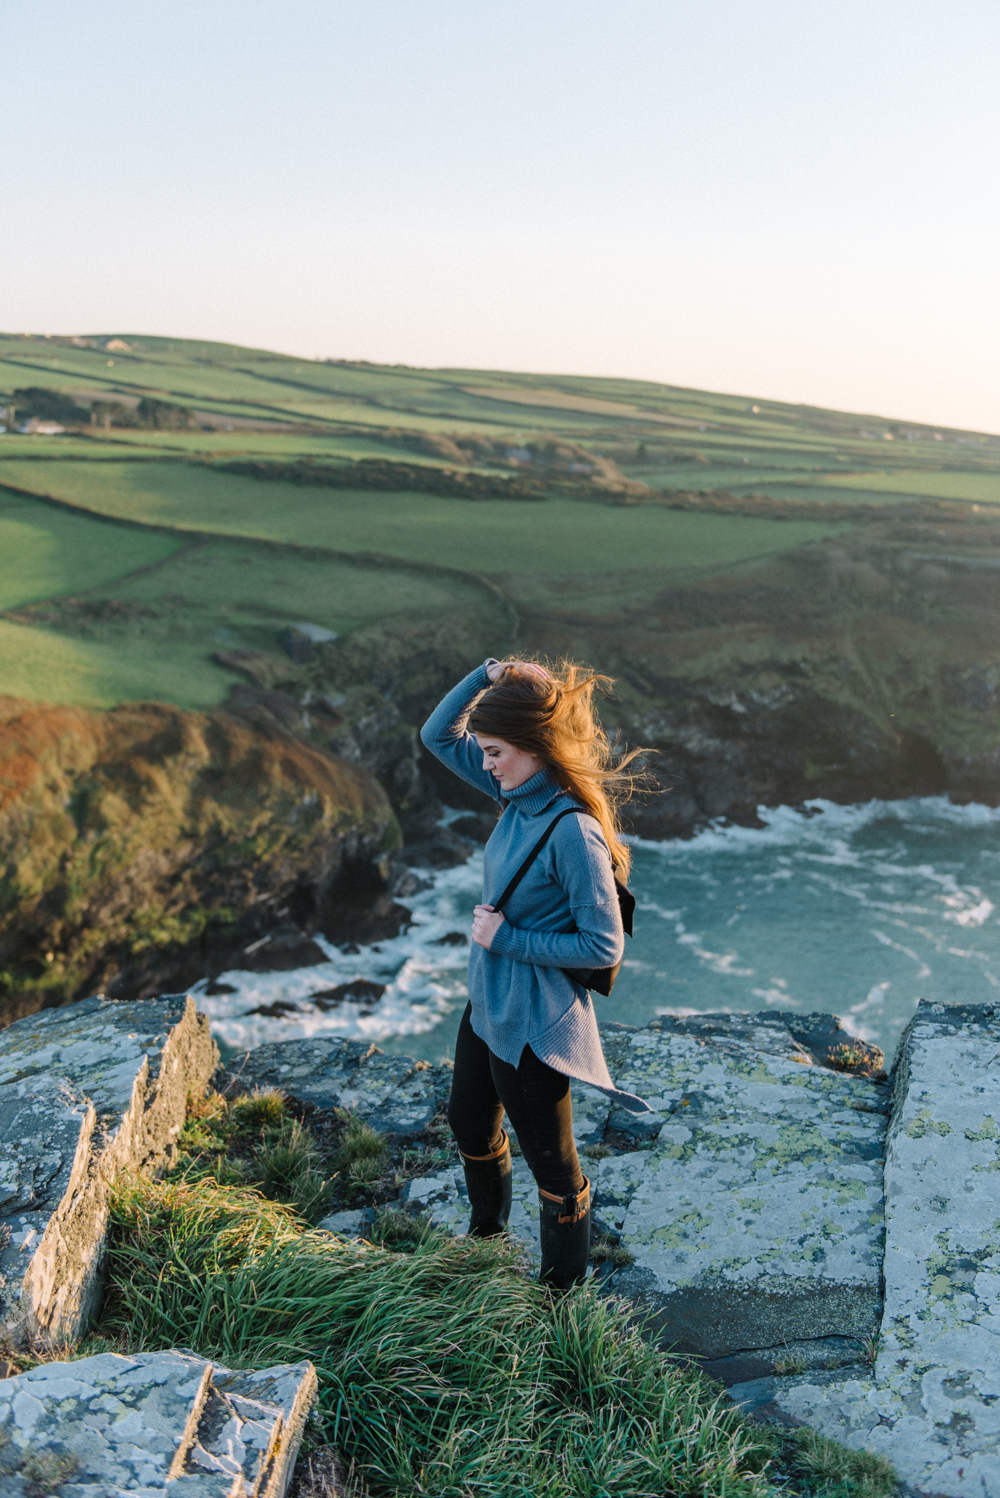
So as you can see here, the before image might actually seem quite under exposed. I do this on purpose, and make sure that I expose for the highlights in an image. This means that when I come to edit in Adobe Lightroom CC (my preferred editing software), I can play around with the exposure, removing some of the shadows, and the contrast.

Its pretty obvious that there is quite a big difference between the before and after image. I use presets to help speed up my editing process. I purchased the VSCO packs a few years ago (Pack 1 and 4) which were well worth the investment. That being said, they're always just a starting point; I tend to go for the Portra 400 preset and I will tweak the image depending on how it's looking. As wonderful as presets are, they're not a one click solution, and I will spend some time getting my colours just right. The colour I always find hardest to master: green. The colour I love work with? Blue! *You probably already guessed that!*
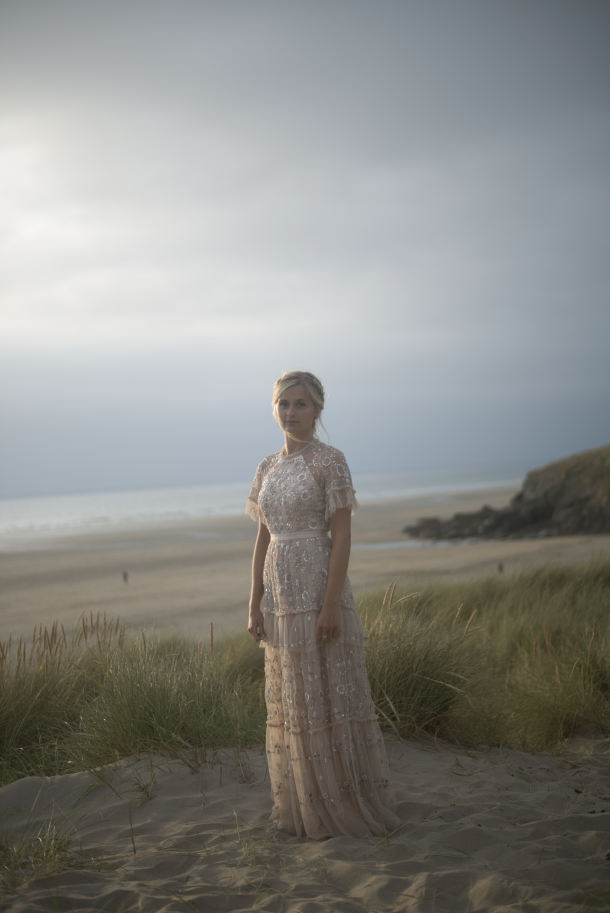
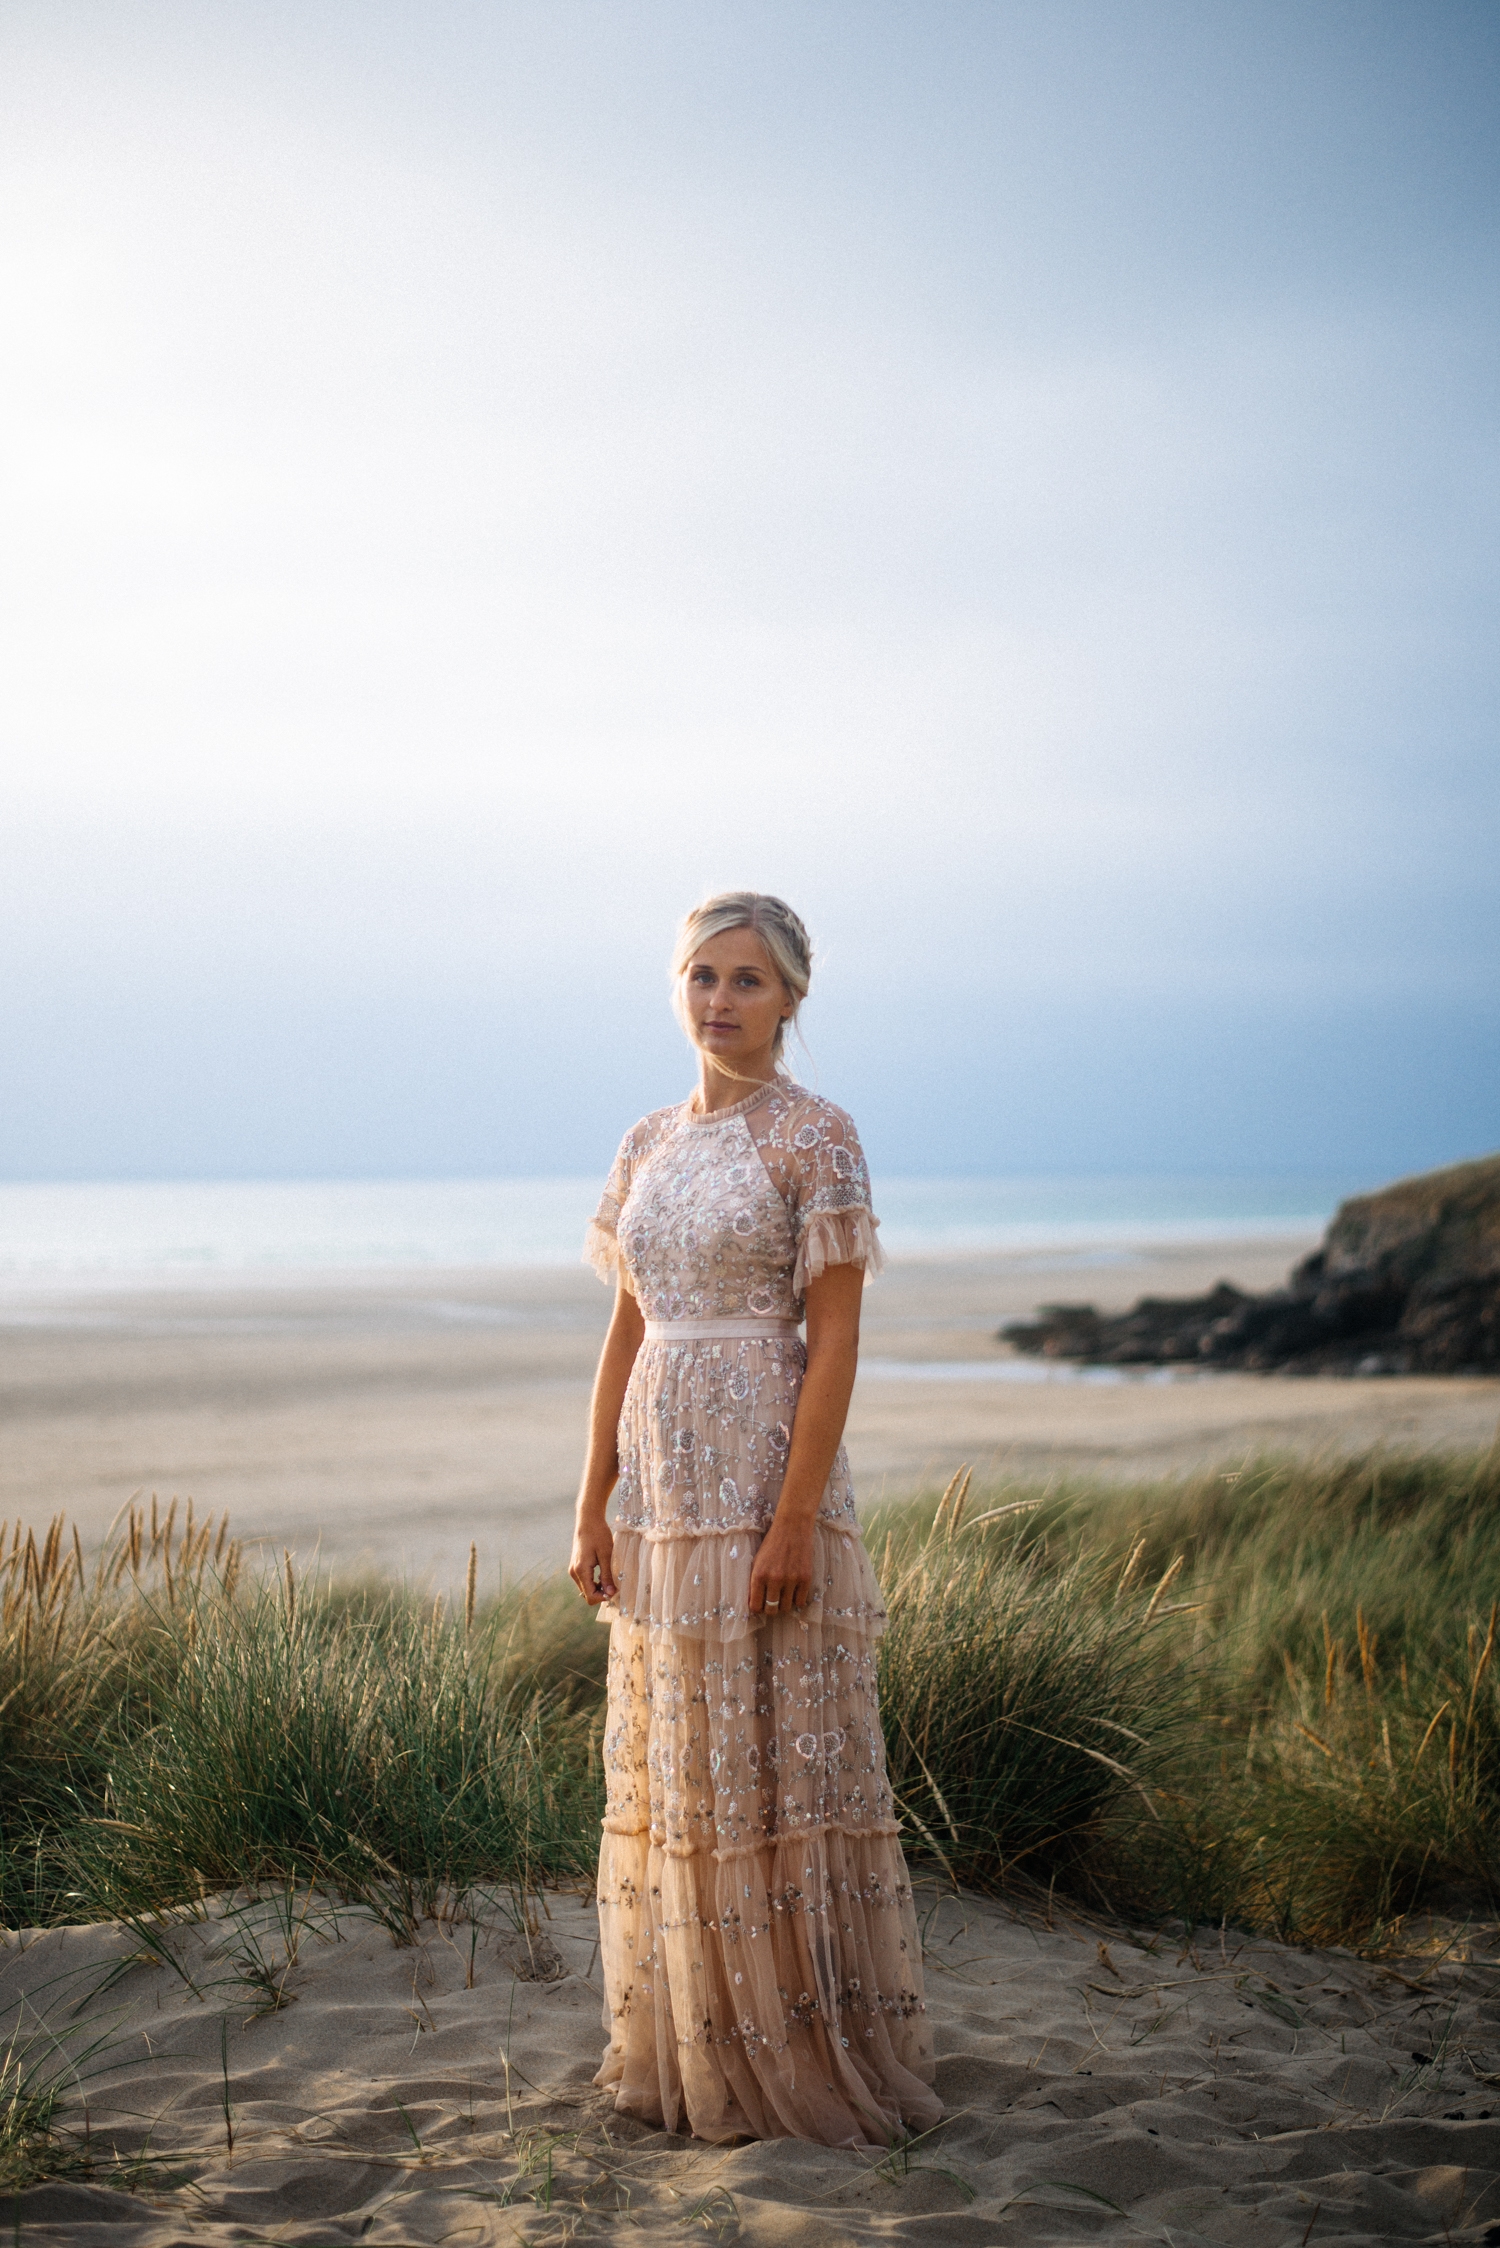
Apart from colour correction, the only other thing I'll do with my editing is remove distractions and straighten horizons. As you can see, the horizon on the image on the left is totally at a diagonal, and that really bugs me, so I make sure all horizons are straight. I'll also remove and distractions, like the people walking on the beach, or any obvious rubbish in the foreground.
As for skin retouching, well it's a similar story - I don't do much, if any. I will always remove any obvious blemishes or spots, because so far everyone I've met has always asked me to. However, if someone asked me to leave their skin totally alone, I'd do that too. I have never altered a body shape for an image, as I truly don't believe that is moral or necessary.
So there you have it, a pretty decent insight into how my images go from camera to end product! As simple as it may be, and as much as I may dislike doing it, it's a very important process and each image gets given the time it needs. I would never publish any imagery without taking the time to edit it, because it is very much part of the final work.
I hope you've enjoyed seeing my process, and if you have any questions about it, please don't hesitate to ask in the comment section below!